How to Get Crisp Paint Lines Without Bleeding — The Complete Painters Tape Guide
How to Get Crisp Paint Lines Without Bleeding — The Complete Painters Tape Guide
Last Updated: December 12, 2025

Tips for Getting a Crisp Line with Painter’s Tape
A clean, crisp paint line can make the difference between a professional-looking finish and a messy one. Whether you’re painting walls, packaging displays, or custom projects, the right painter’s tape technique ensures sharp results with minimal touch-ups.
Here’s how to get flawless lines every time.
1. Start with a Clean Surface
Before you even reach for the tape, take a moment to prepare your surface.
Make sure it’s:
- Dry, smooth, and free of dust, oil, or debris.
- Wiped down with a lint-free cloth (and mild cleaner if necessary).
A clean surface allows the tape to adhere properly, creating a tight seal that prevents paint from bleeding underneath.
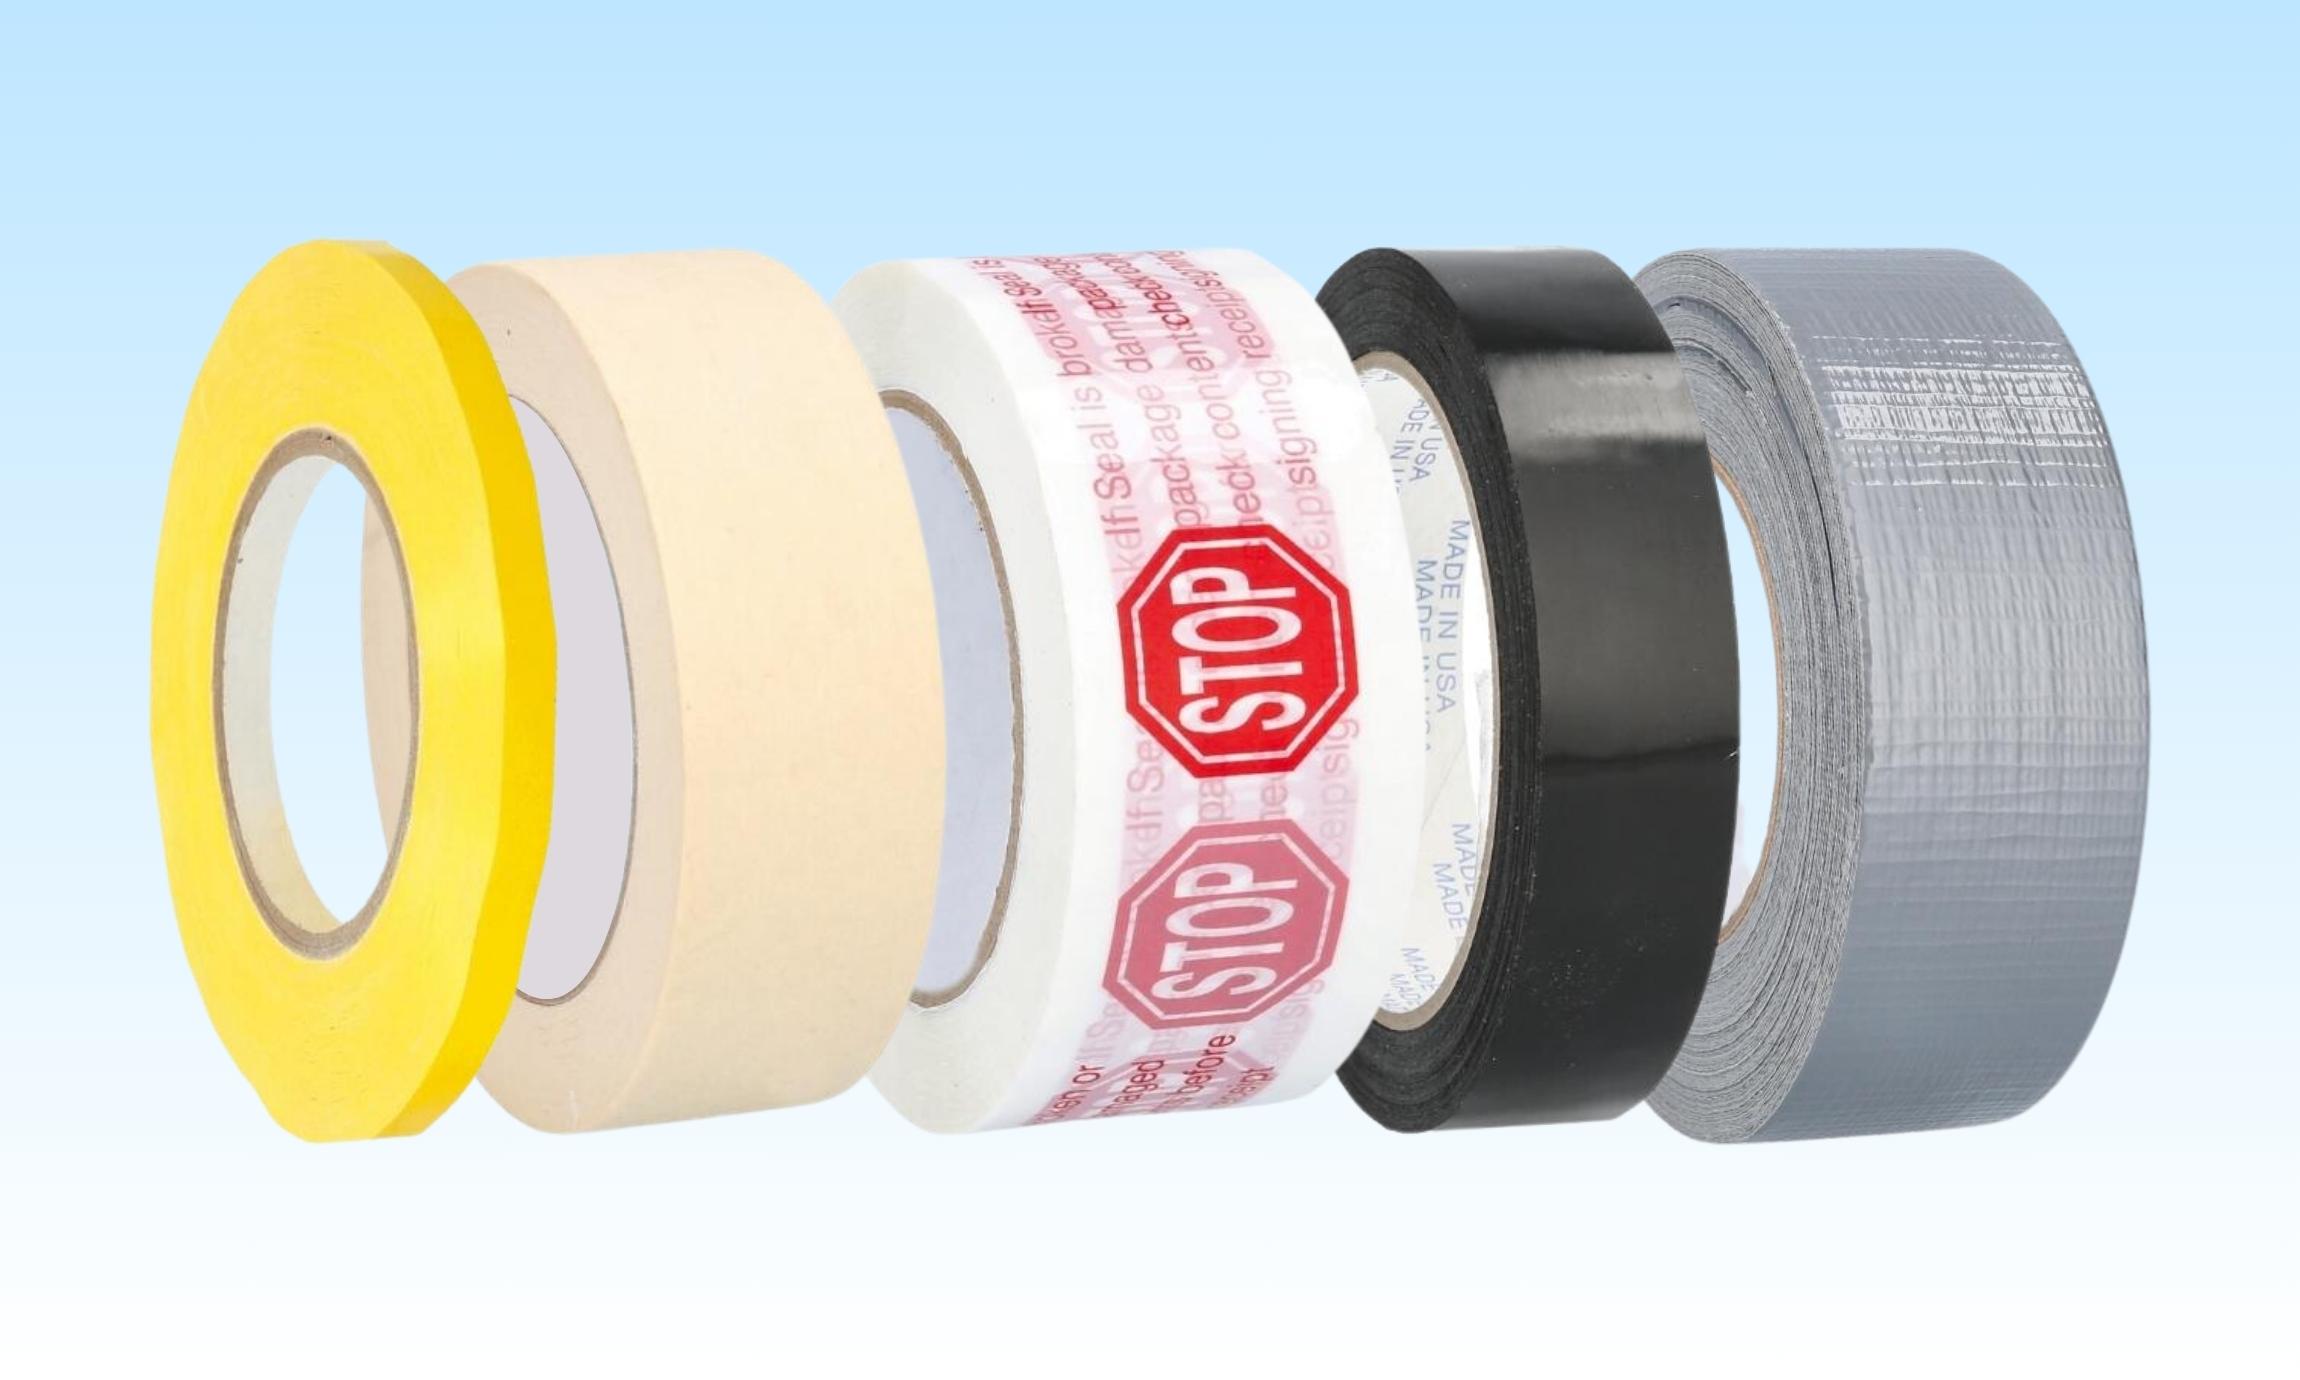
2. Choose the Right Tape for the Job
Not all tape is created equal. The right tape depends on your surface and paint type.
- Painter’s Tape vs. Masking Tape: Painter’s tape has a gentler adhesive designed for clean removal, making it less likely to peel away existing paint.
- Surface-Specific Options: Use delicate-surface tape for newly painted walls or wallpaper, and high-adhesion tape for textured materials like wood, concrete, or rough drywall.
Choosing correctly from the start saves time and prevents rework later.
3. Apply Tape with Firm, Even Pressure
Once your tape is in place, press it down firmly along the edge.
Use your fingertip or a plastic tool (like an old credit card) to run along the edge and seal it tightly. This prevents micro-gaps that can cause paint bleed.
It only takes a few extra seconds, but it makes a major difference in your results.
4. Seal the Edge for Extra Sharpness (Pro Trick)
Here’s a professional painter’s secret: seal the tape edge before applying your topcoat.
After taping, brush or roll a thin layer of your base color (the color underneath the tape) along the edge. This step fills any microscopic gaps between the tape and the surface.
Once it’s dry, apply your main paint color.
When you remove the tape, you’ll reveal perfectly crisp, clean lines — no touch-ups needed.
5. Remove Tape at the Right Time
Timing is everything.
- Don’t wait until the paint is completely dry — this can lead to tearing or chipping.
- Instead, remove the tape while the paint is still slightly tacky.
- Pull it back slowly at a 45° angle away from the new color for best results.
If you accidentally wait too long, you can gently score the edge with a utility knife before removing the tape to avoid lifting dried paint.
6. Control Bleeding on Textured Surfaces
Textured materials like brick, concrete, or rough drywall can be tricky. To get clean lines:
- Use a flexible tool, like a silicone caulking tool, (or your fingers!) to press the tape into grooves.
- For maximum protection, apply a thin coat of clear acrylic sealer, clear paintable silicone caulk, or base paint along the edge before painting your main color.
This extra prep ensures the paint doesn’t seep into uneven surfaces.
7. Always Test First
Different paints, finishes, and tape brands can behave differently.
Before tackling a full project, do a small test section to confirm adhesion, paint compatibility, and removal results. A quick test can save you hours of frustration.
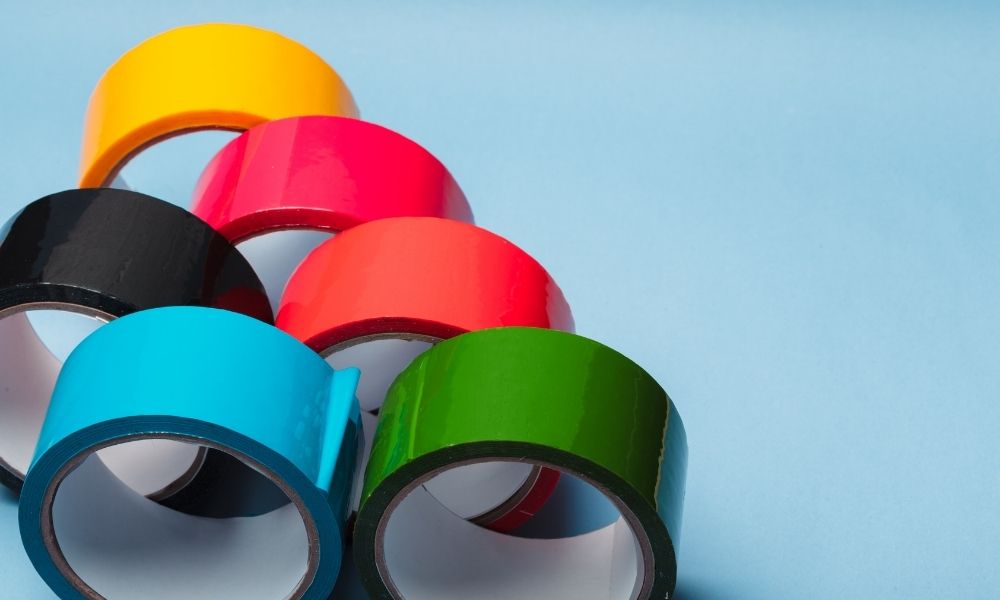
Bonus Tip: Use the Right Tape Width
Wider tape provides more margin for error when using rollers or wide brushes.
Narrower tape offers better control for detailed work, trim, and designs.
Think about your project scale before you start — it’s a small choice that makes a big impact.
Takeaway
Painter’s tape seems simple enough to use, but achieving sharp, professional results isn't always self-explanatory. With a few simple tricks, you can achieve professional results every time. By choosing the right tape, applying it correctly, and timing your removal, you can ensure every project looks clean, consistent, and confidently finished.